[Truffle] 트러플로 과일가게 구현하기
in Dev on Blockchain, Truffle
Truffle 과 Ganache를 이용하여 과일가게 dApp 개발
개발환경
$ npm install -g truffle
프로젝트 생성
Truffle Boxes를 이용하여 프로젝트를 생성
$ mkdir fruitshop
$ cd fruitshop
$ truffle unbox react
배포 환경 구성
truffle.js
module.exports = {
  networks: {
    development: {
      host: "127.0.0.1",
      port: 7545,
      network_id: "*" // Match any network id
    }
  }
};
Shop Contract
$ truffle create contract Shop
contracts/Shop.sol
pragma solidity ^0.4.18;

contract Shop {
  mapping (address=>uint16) myApple;

  function buyApple() payable external {
    myApple[msg.sender]++;
  }

  function getMyApples() view external returns(uint16) {
    return myApple[msg.sender];
  }

  function sellMyApple(uint _applePrice) payable external {
    uint refund = myApple[msg.sender] * _applePrice;
    myApple[msg.sender] = 0;
    msg.sender.transfer(refund);
  }
}
배포 스크립트 작성
$ truffle create migration shop
migrations/2_bank.js
var Shop = artifacts.require("./Shop.sol");

module.exports = function(deployer) {
  deployer.deploy(Shop);
};
컴파일
$ truffle compile
Compiling .\contracts\Shop.sol...
Compiling .\contracts\Migrations.sol...

Writing artifacts to .\build\contracts
배포
$ truffle migrate
Using network 'development'.
...
Saving artifacts...
React.js 로 프론트엔드 구현하기
src/App.js
import React, { Component } from "react";
import ShopContract from "../build/contracts/Shop.json";
import getWeb3 from "./utils/getWeb3";

import "./App.css";

class App extends Component {
  constructor(props) {
    super(props);

    this.state = {
      shopInstance: null, // shopInstance 추가
      myAccount: null,    // myAccount 추가
      myApples: 0,        // myApples 추가
      web3: null
    };
  }

  componentWillMount() {
    getWeb3
      .then(results => {
        this.setState({
          web3: results.web3
        });

        this.instantiateContract();
      })
      .catch(() => {
        console.log("Error finding web3.");
      });
  }

  instantiateContract() {
    const contract = require("truffle-contract");
    const shop = contract(ShopContract);
    shop.setProvider(this.state.web3.currentProvider);

    /* 이것을 추가하세요. */
    this.state.web3.eth.getAccounts((error, accounts) => {
      if (!error) {
        shop.deployed().then(instance => {
          this.setState({ shopInstance: instance, myAccount: accounts[0] });
          this.updateMyApples();  // 여기서 updateMyApples 호출하기
        });
      }
    });
  }

  buyApple() {
    this.state.shopInstance.buyApple({
      from: this.state.myAccount,
      value: this.state.web3.toWei(10, "ether"),
      gas: 900000
    });
  }

  sellApple() {
    this.state.shopInstance.sellMyApple(this.state.web3.toWei(10, "ether"), {
      from: this.state.myAccount,
      gas: 900000
    });
  }

  updateMyApples() {
    this.state.shopInstance.getMyApples().then(result => {
      this.setState({ myApples: result.toNumber() });
    });
  }

  render() {
    return (
      <div className="App">
        <h1>사과의 가격: 10 ETH</h1>
        <button onClick={() => this.buyApple()}>구매하기</button>
        <p>내가 가진 사과: {this.state.myApples}</p>
        <button onClick={() => this.sellApple()}>
          판매하기 (판매 가격: {10 * this.state.myApples})
        </button>
      </div>
    );
  }
}

export default App;
전자지갑 설정
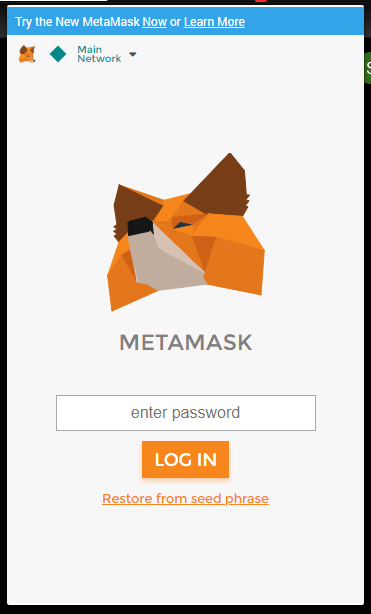
Metamask 설치
- https://metamask.io
Metamask Log in
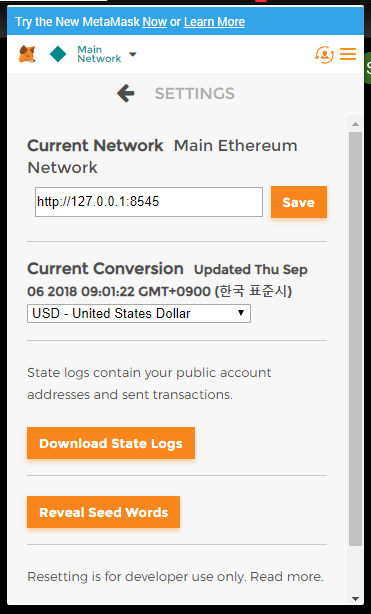
Custom RPC 연결
Ethereum Network -> http://127.0.0.1:8545
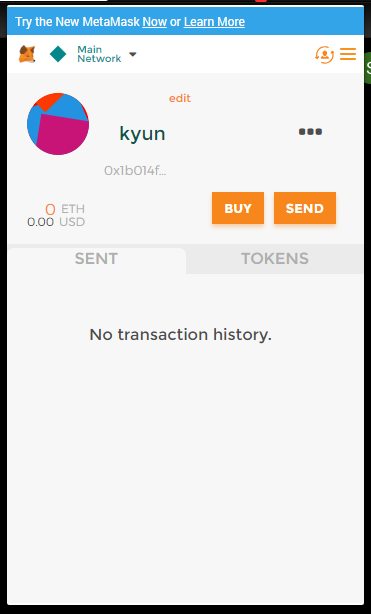
MetaMast에 계정 추가
- Ganache 에서 첫번째 계정의 Private Key 복사
- MetaMask 에서 Import Account > Private Key 붙여넣고
IMPORT버튼 클릭
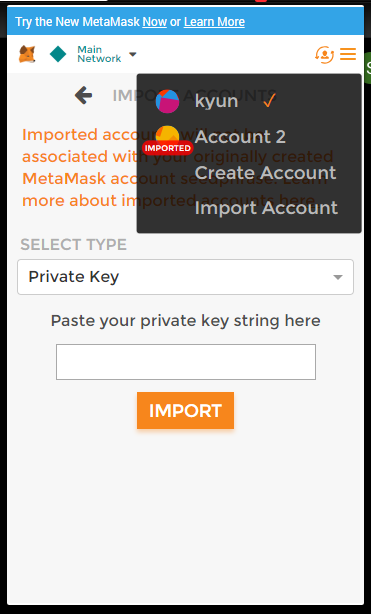
IMPORTED계정이 생성됨
테스트
$ npm run start
http://localhost:3000 에 접속 후 구매하기와 판매하기 테스트
참고
- https://steemit.com/ethereum/@dangen/truffle-react-js-dapp-1-2